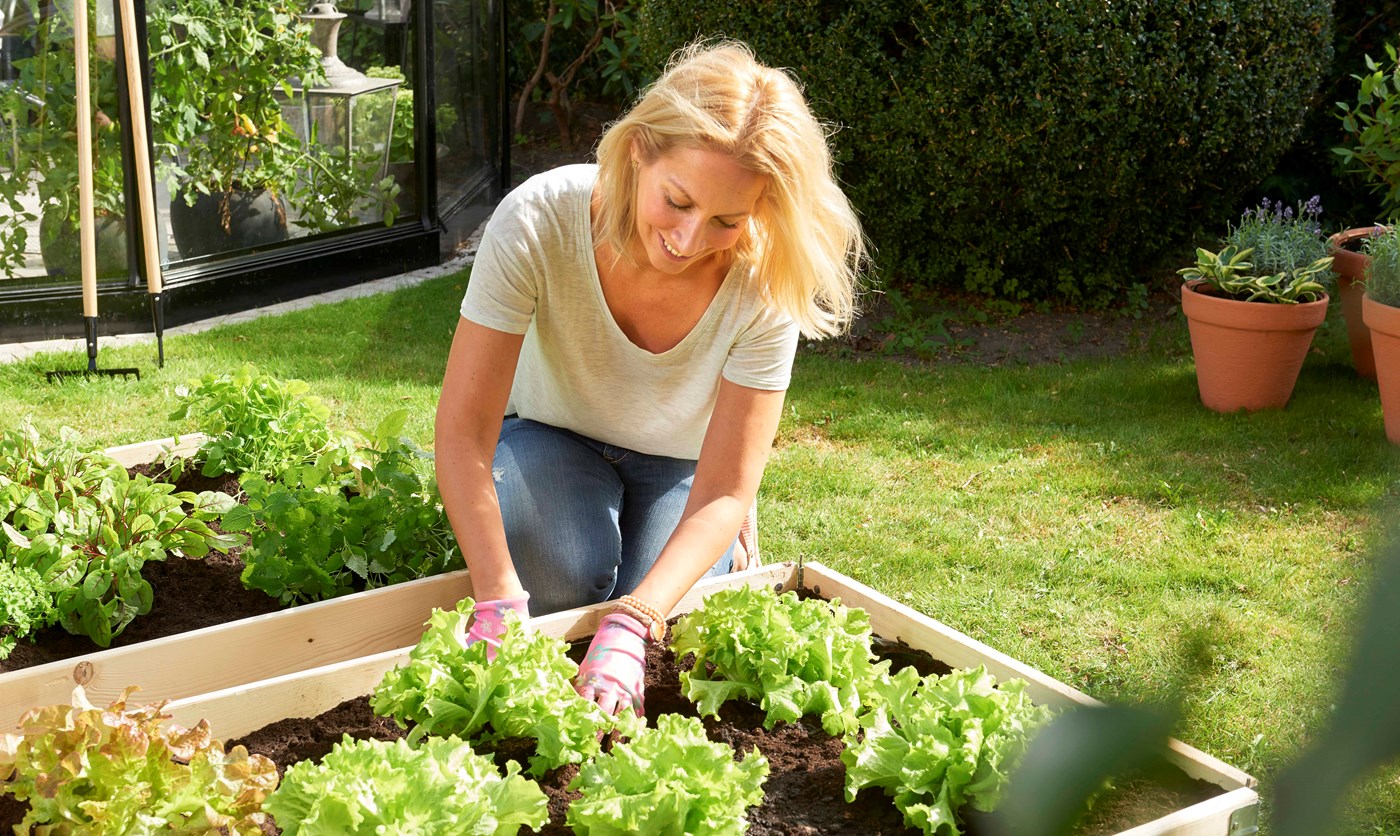
When Should You Plant a Hedge?
Do you know when it is best to plant a hedge?
When planting a new hedge, it is important that you do so at the right time. But when is the right time? The answer is straightforward – because it depends on the type of hedge you want to plant. Is it an evergreen hedge or deciduous hedge? Or are you going for a potted hedge?
It is important that you familiarise yourself with the recommendations for the type of hedge you have chosen to plant at home. This way you can give your hedge the best conditions for growing.
When should you plant deciduous hedges?
Will you plant a deciduous hedge, such as a beech hedge that sheds its leaves in winter? Then you can start planting from October to May – in late autumn or early spring. At this time of the year, the plants are at rest, which makes it an optimal time to plant hedges.
Plant evergreen hedges in late spring or early autumn
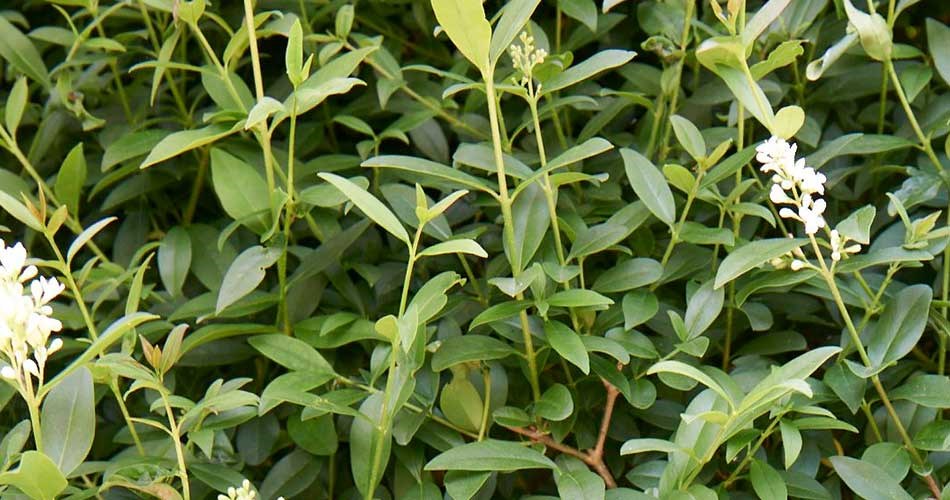
When should you plant an evergreen hedge? If you want to plant an evergreen hedge, like a classic privet hedge or cherry laurel hedge, both of which are green all year round, then the perfect time to plant is in May, August, or September. Such a hedge should preferably be planted while the soil has a little heat and is not too cold.
When should you plant a potted hedge?
If you go for potted hedges, you can plant them all year round. Potted hedge plants do not dry out so easily, which means they are more resistant to changing weather conditions. The most important thing is that the soil is workable. If not, then you should postpone the project.
Weather conditions affect when you should plant a hedge
The right time to plant a hedge depends on the weather conditions – regardless of the type of hedge. If it is very hot or if the soil is frozen, then you should wait before planting.
Frozen soil can make it impossible to dig, and hot temperatures can cause the plant roots to dry out quickly. The right time to plant a hedge therefore depends a great deal on the prevailing weather conditions.
What to consider when planting a hedge
Have you decided on the hedge you want to plant? And have you determined the right time to plant it? Then there are a number of preparations you need to make before you get started.
- Once you’ve got your hedge plants, place them in a shady area until you’re ready to plant. Shade helps to keep the plants fresh, and it also prevents them from drying out.
- It is important that you plant your hedge within two days of buying your plants. That’s why it’s important to know the right time to plant a hedge before you buy the plants. The plants need to be planted as soon as possible. This helps to give the hedge the best conditions for growing.
- Before you start planting your hedge, you should rinse the roots with water. This helps to remove any harmful substances, and it also keeps the roots moist, which gives your hedge a good start to life in your garden.
- A final tip is that you should plant your new hedge in the rain or just after it has rained, since the soil will be very moist, which helps keep the plants hydrated. Moist soil also provides the roots with good conditions to establish themselves and start growing.
When planting a hedge at home in your garden, it’s not just about figuring out when to plant a hedge. You also need to prepare properly. And with our tips, you will be well on your way to getting a healthy and beautiful hedge at home.
How to plant a hedge?
Once you know when it is best to plant the hedge, you simply need to get started. In this guide, we will discuss the tools you need, and we will also guide you through the process step by step.
What you will need
Once you’ve determined when to plant a hedge, it’s time to get started. However, there are several different tools you will need when planting hedges, and we give you an overview of them here. Make sure you have all the tools on hand you get started.
- Planting soil or hedge mulch: To give the soil extra nutrition when planting the hedge, you can mix up the natural soil with some planting soil or hedge mulch. This gives your new hedge the best conditions.
- String: When measuring for your new hedge, it is absolutely essential to use string. This will ensure that your hedge is planted straight. Use the string as a guide – both when digging the trench for the hedge and the placing the hedge in the trench. You can also use string to tie up the hedge plants so that they hold their shape.
- Fertiliser: Once you have planted the hedge, fertiliser will give your hedge extra nourishment so that it gets the best conditions to grow.
- Spade: A spade is an indispensable tool when you start planting a hedge, because you will need it to dig the trench in which the hedge plants will be placed.
- Watering can: If you have a garden, it’s always a good idea to have a watering can. And this also applies when you have a newly planted hedge. It must be watered thoroughly.
- Garden hose: Instead of a watering can, you can use a garden hose. This can make the watering process slightly easier and faster.
- Wheelbarrow: A lot of gardening tasks require a wheelbarrow, and it is also useful when planting a hedge. For example, you can use it to transport the hedge plants from the car or shed and around the garden to the planting site. You can also use it to move excess soil.
- Mulch: Once you have planted the entire hedge, it’s a good idea to place mulch over the ground. It helps to retain moisture in the soil. As a bonus, it also prevents weeds from sprouting.
- Gardening gloves: When working in the garden, a good pair gardening gloves is indispensable. They protect your hand from both from injury and dirt.
Once you know when to plant a hedge and have all the necessary tools, you will be ready to get started. Good preparation is key.
Step-by-step guide to planting a hedge
Once you’ve determined when to plant the hedge, it’s time to get down to the real work. We will guide you through the process – step by step.
1. Measure
The first thing you need to do is measure. Where will your hedge be placed? It’s a good idea to use a string that you fasten between two sticks to mark the line. This will help to ensure that the hedge is completely straight. You can also use the string to mark where the individual plants should be. This will help to ensures that all the plants get the space they need.
As a rule of thumb, you should place your hedge 30-40 centimetres from your lawn, since the hedge and lawn will compete for water and nutrition.
2. Dig a trench
The next step is to dig a trench along the string. It should be deep enough to accommodate the roots of hedge plants, and it should also be wide enough for you to work in. A rule of thumb is that the trench should be one or two spade heads in width.
Tip: Lay the excavated soil right next to the trench. This will make it easier to fill the soil again afterwards.
3. Place your hedge plants
Once the trench has been dug, it’s time to place the hedge plants – one at a time. Make sure to place them a suitable distance from each other so that they each have room to grow and thrive. You should plant the hedge plants at the same depth as they were at the nursery. You should be able to see a colour difference on the roots.
4. Fill with soil
Once the hedge plants are in place, fill the trench with soil. This part is more easily done by two people: one person places the hedge plants, and the other person fills the trench with soil. It is important that you compress the soil well around the roots, and make sure to straighten the plants when filling the soil.
Tip: You can mix the excavated soil with some plant soil to give the hedge even better growing conditions.
5. Tie up the hedge plants
Once you have placed all the plants and filled the trench with soil, you should tie up the hedge plants right down to the roots. This will help the hedge to grow in the right direction.
6. Water, water, water
The last – and perhaps most important – step is to water your newly planted hedge. Watering is essential for the roots to establish themselves in the soil. And this is especially important in the first weeks right after planting.
Planting a hedge is not a difficult task, but you need to know the right time to do so. And you will need the right tools and the right approach.
Take good care of your hedge after planting
The work is not over after you have planted the hedge. In the time after planting, it is important that you take good care of the hedge so that it can grow. You should:
1. Remove grass and weeds
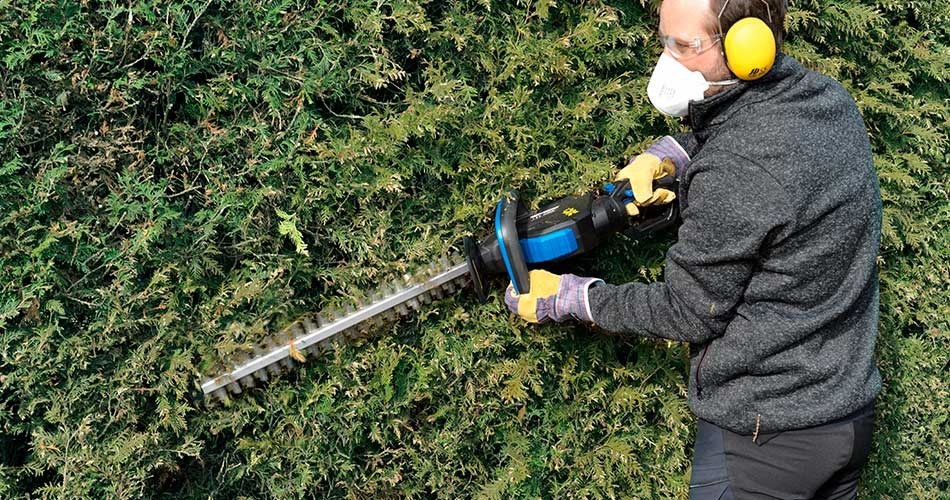
First and foremost, make sure to keep each side of the hedge free of both grass and weeds. These absorb the water and fertiliser in the surrounding soil that would otherwise have benefited your hedge. You should therefore place a layer of mulch or similar around the hedge, as it both retains moisture in the soil and prevents weeds from sprouting. A regular round of gardening can also do the job. Find all our garden tools here.
2. Remember to water
If you want a large and well-groomed hedge, it is important that you water the hedge correctly. You need to water the hedge as needed for at least two growing seasons after planting. This means that you should water the hedge if it needs to be watered – even if you watered it yesterday and even if it rained the day before yesterday.
3. Fertilise the hedge
To give your hedge the best conditions to grow, it is also important that you consider using fertiliser. You don’t need to fertilise right after planting the hedge. You can add fertiliser the following spring. This will help to give the hedge the nutrition it needs. And it will give you a beautiful, well-groomed hedge.
Planting a hedge is not only about determining the right time to plant, but also about taking good care of the hedge afterwards. And with our three tips, you will be well on your way to getting a healthy and beautiful hedge that will last for many years.